ComposeDB (Ceramic)
Save Data Encrypted with Lit Protocol to the Ceramic Network on ComposeDB
Learn how to use Lit Protocol to encrypt messages and save them to the Ceramic Network using ComposeDB.
Objectives
At completion of this reading you should be able to:
- Create ComposeDB schemas and deploy those models on a local Ceramic node.
- Authenticate users on Ceramic to allow them to author their own documents.
- Encrypt data with Lit Protocol and write mutation queries to save the encrypted data to ComposeDB using GraphQL.
- Decrypt data using Lit Protocol based on specified business logic.
What is the Ceramic Network?
Ceramic is a decentralized data network that leverages the verifiable qualities you can expect from a blockchain, with cost efficiency and querying capabilities similar to a traditional database. Ceramic empowers developers to leverage interoperable data formats stored on the Network, helping product teams circumvent "cold-start" data problems while simultaneously allowing individuals to take ownership of their digital presence.
How does it Work?
The Ceramic Protocol is built on decentralized event streams, where user accounts (enabled by decentralized identifiers, or DIDs) cryptographically sign data events and submit them to the network. These events are stored in the Interplanetary File System (IPFS) using the IPLD protocol, and organized into readable streams. Each stream is flexible enough to store many types of content. Therefore, Ceramic is home to a diversity of different data use cases such as user profiles, posts, relations to other entities, and more.
Due to Ceramic's open readability, any participating node can read from any stream in the network. Therefore, encrypting data using Lit Protocol and saving it Ceramic is a common (and necessary) integration for many teams.
Ceramic as a Data Ledger
It's important to note that Ceramic can be viewed as a "Data Ledger" middle ground between on and off-chain activity. All Ceramic events are periodically rolled into a Merkle tree and the root is published to the Ethereum blockchain, thus ensuring consensus on the global transactions ordering within Ceramic.
For more information on how Ceramic works, visit How it Works.
ComposeDB
ComposeDB is a graph database built on Ceramic that offers further composability and ease of querying to developers. ComposeDB delivers native support for GraphQL and also splits read/write load by default for additional performance. When running a Ceramic node with ComposeDB, developers can define their own data models using GraphQL, or choose to begin indexing on existing data models already defined by the community, or both!
For the purpose of this tutorial, we will be using Ceramic with ComposeDB to illustrate how developers can generate, store, and query simple encrypted messages.
This tutorial will use a message board example application to show how to create encrypted messages using Lit Protocol and save message instances to the Ceramic Network using ComposeDB.
To follow along, reference this example repository.
Initial Setup
For this tutorial, you will need:
- MetaMask Chrome Extension
- Node v16
First, clone the repository and install your dependencies:
git clone https://github.com/ceramicstudio/lit-composedb && cd lit-composedb
npm install
Open the repository in your editor of choice to continue following along.
Generate Your Local Node Configuration
This tutorial shows developers how to run a local node with which they will deploy model definitions and publish/read transactions to the network.
In order to do this, a server configuration will have to be defined, as well as corresponding Ceramic node admin credentials.
We've done most of this work for you using this script we've provided.
To generate your credentials, run the following in your terminal:
npm run generate
If you explore your composedb.config.json and admin_seed.txt files, you will now see a defined JSON ComposeDB server configuration and Ceramic admin seed, respectively.
For more information on server configurations, visit Server Configurations in the ComposeDB docs.
Observe Your Schema Definitions
You can find pre-made graphql schema definitions within your /composites directory. This particular tutorial uses a singular simple model called Posts - each model instance will contain all the necessary encrypted data generated by LIT for someone with the assigned access control conditions to be able to decrypt:
# 00-posts.graphql

type Posts @createModel(accountRelation: LIST, description: "A simple Post") {
  author: DID! @documentAccount
  body: String! @string(maxLength: 100000)
  to: String! @string(minLength: 42, maxLength: 42)
  edited: DateTime
  created: DateTime!
  ciphertext: String @string(maxLength: 100000)
  chain: String @string(maxLength: 100000)
  accessControlConditions: String @string(maxLength: 100000)
  accessControlConditionType: String @string(maxLength: 100000)
}
In this model definition, you'll notice that the "author" field takes a scalar type DID with an @documentAccount directive. This field definition allows each Posts instance to be queried based on the controlling Ceramic Account (based on DID), and therefore is automatically assigned each time a model instance is defined.
(For more information on controlling Accounts and Documents, visit ComposeDB Concepts).
Finally, if you navigate into the /scripts/composites.mjs file, you'll find the application's deployment script. When you launch the application, this script compiles the model into a composite definition that will then be deployed on your local node and writes that definition to the files located in /src/__generated__, which will later be used by the ComposeDB client library to read and write data.
Run the Application in Developer Mode
To run the application, first make sure you're running node version 16, and then run the dev command:
nvm use 16
npm run dev
You can observe your local node's output logs within your terminal as the application starts up.
Once your terminal reads [NextJS] ready - started server on 0.0.0.0:3000, url: http://localhost:3000, you can view the frontend in your browser by visiting http://localhost:3000.
Note that your local Ceramic node is now running on your local 7007 port. You can verify that it's running by executing the following in a new terminal:
curl http://localhost:7007/api/v0/node/healthcheck
This should print Alive!% on the following line.
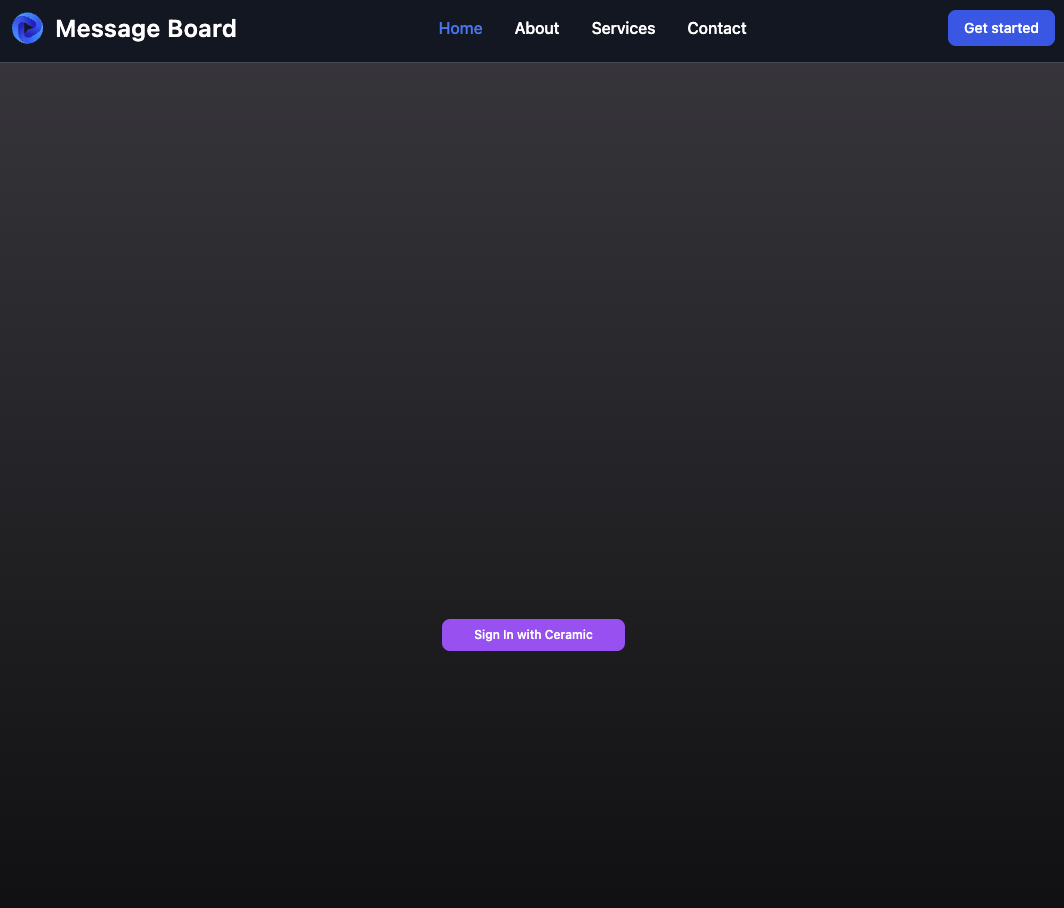
Authenticate with Ceramic
Upon opening the homepage in your browser, you will be prompted with the option to "Sign In with Ceramic" in the middle of the screen:
Navigating back to your text editor, observe the useEffect lifecycle hook within /src/pages/index.tsx that checks the browser's local storage for an item with a "did" key. Upon pressing the button to initiate the authentication sequence, the handleLogin method on the same page is called, relying on an authenticateCeramic method imported from /utils/index.ts, using the client definitions imported from /context/index.tsx.
The important item to recognize during this sequence is which DID method is being used. While Ceramic supports multiple DID methods, this application authorizes Ethereum accounts using @didtools/pkh-ethereum (visit User Sessions for more information).
This type of authentication flow offers a familiar "web2" experience allowing users to sign in once (thus generating a timebound session), removing the need to manually approve every transaction. In doing so, this method utilizes a root Ceramic did:pkh account with the user's wallet, and generates a temporary and resolvable Ceramic did:key account that lives in the browser's local storage, expiring after a default duration of 24 hours.
Once authenticated, you should now see a blank message board appear on the screen:
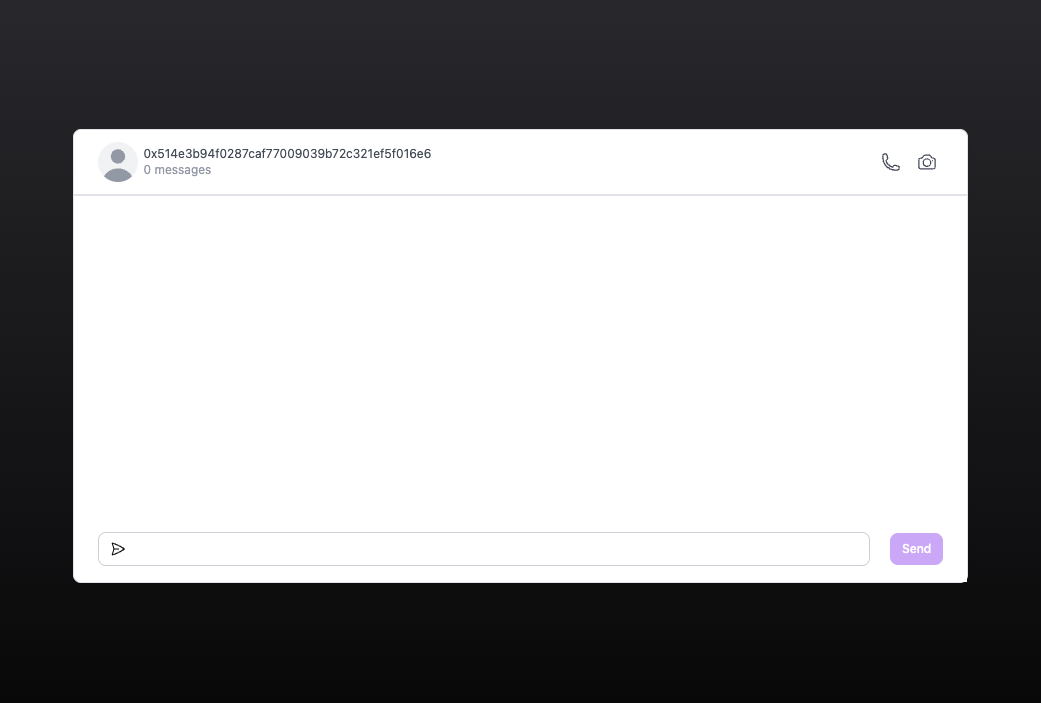
If you now check your local storage, you'll also see a new generated field with a "did" key and an alphanumeric corresponding value.
Finally, navigating back to /src/pages/index.tsx, you'll also notice that a startLitClient method is invoked toward the end of handleLogin. Similar to authenticateCeramic, this method is imported from /utils/client.ts and is meant to connect your host to LIT Protocol's network. Please note that we have not yet authenticated ourselves with LIT - we will do this later when we try to create a message.
Generate Encrypted Messages
Now that we are authenticated with Ceramic, we can go ahead and send messages to the network. In your text editor, you'll notice that the component defined in /src/components/Chat.tsx imports and returns a <ChatInputBox /> component (using the raw message contents and the user's address as props). If you navigate into /src/fragments/chatinputbox.tsx, you'll find a flow that involves both encryption with LIT and saving to Ceramic.
Locate the doSendMessage method definition. You'll notice that an array named accessControlConditions is defined within this method that uses Boolean Logic discussed in our access control section. In this simple example, we're setting access control conditions based on the user's address (in this case, requiring that the user's address be strictly equal to the one we're currently signed in with).
Next, you'll find an encrypted constant assigned to the evaluated result of invoking encryptWithLit, using the Lit client instance, the raw message, access control conditions, and the assigned chain as arguments. This method is imported from /utils/lit.ts. Similar to the Ceramic authentication flow outlined in the previous section, encryptWithLit first invoked a child method called checkAndSignAuthMessage that checks for an existing cryptographic authentication signature and creates one if it does not exist. The result of this signature is then stored in local storage so the user doesn't have to sign each time they perform an operation.
If this is your first time submitting a message after following the steps above, your MetaMask will prompt you to generate the signature mentioned above:
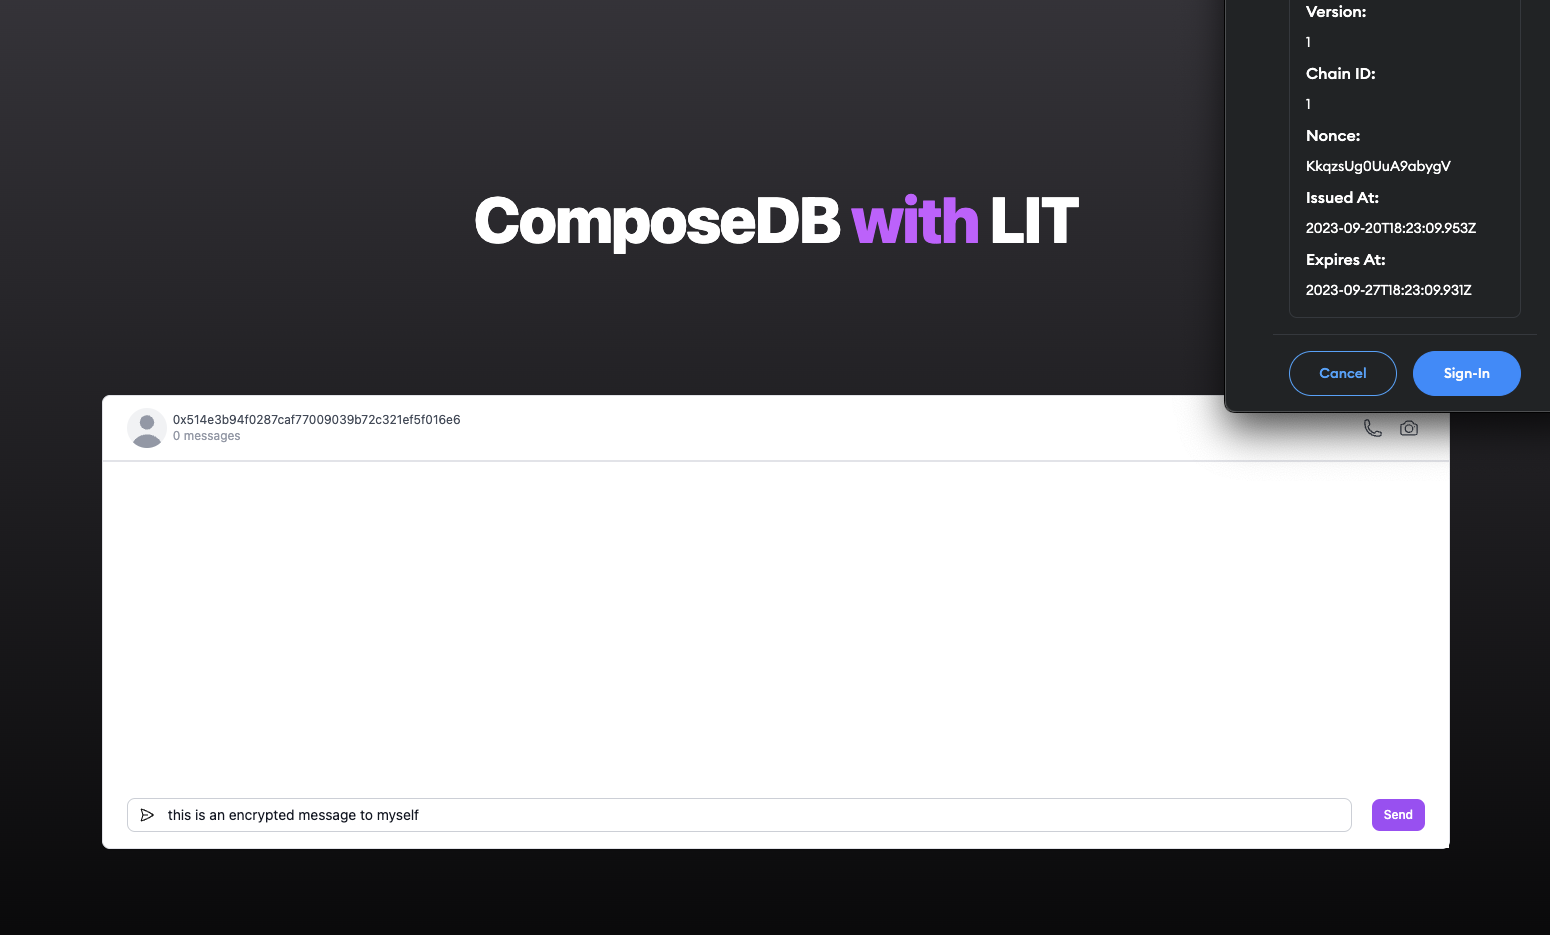
Observe how the child methods within encryptWithLit use the original arguments to eventually return an object that we will then save to ComposeDB.
Back in /src/fragments/chatinputbox.tsx, observe how the executeQuery method on our composeClient class instance is invoked with the values we just generated from the LIT encryption sequence. It's important to note that mutation queries (such as this one) only work when a user is authenticated. Since we are importing the useCeramicContext wrapper from /context/index.tsx, we are able to access the authenticated session we established in the last section from within any child components. You can also see how the createPosts mutation query accessing the model definitions we discussed previously, found in /composites/00-post.graphql.
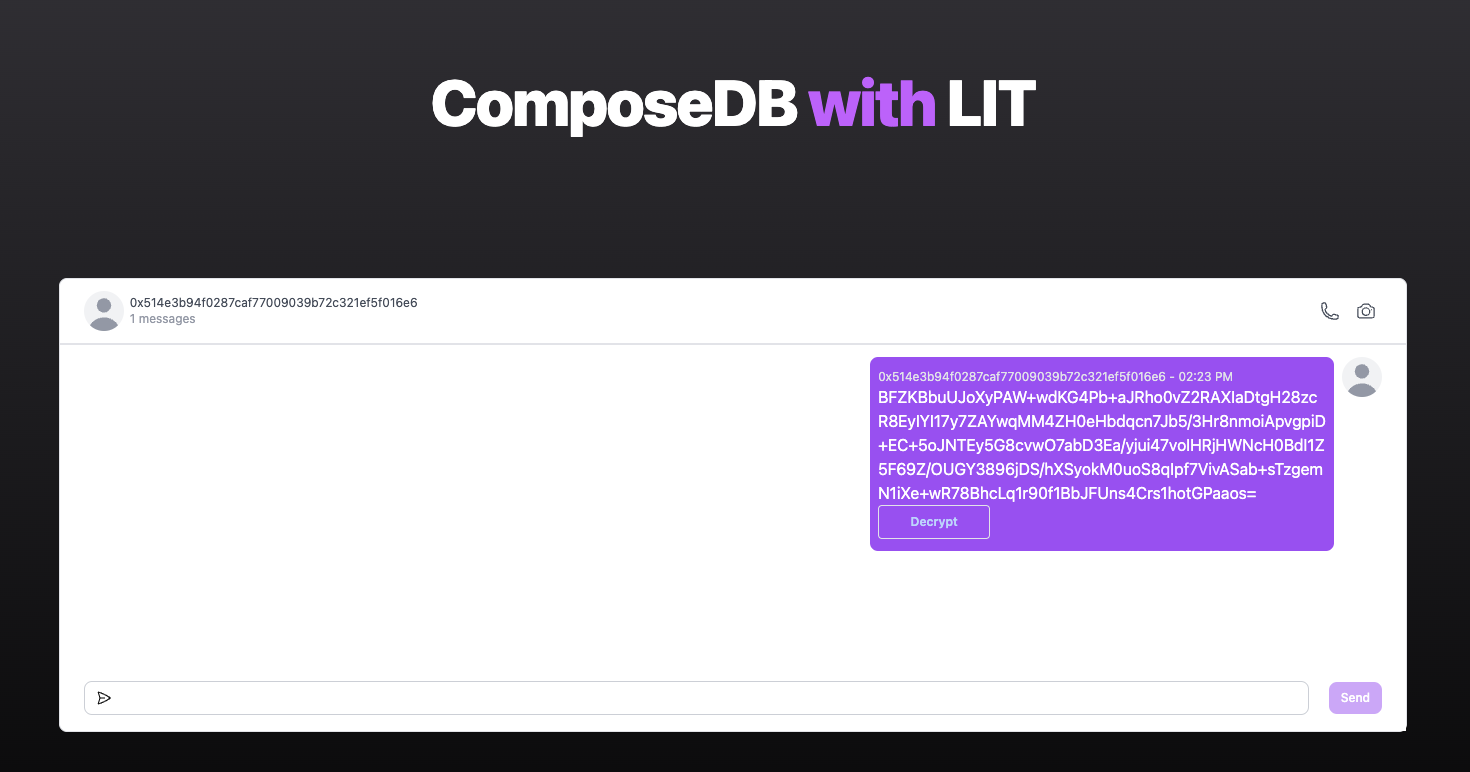
If you've followed the steps above to submit an encrypted message, your UI should now look something like this:
Grabbing Indexed Messages
Now that you've generated encrypted messages using LIT and saved them to your local Ceramic node using ComposeDB, you'll notice that every time you refresh the page, those messages are rendered in the UI.
If you navigate back to /src/components/Chat.tsx, you'll be able to observe why this is happening. You'll notice that a getMessages method is tied to the useEffect lifecycle hook. When invoked, this method queries your imported composeClient for the last 20 instances of Posts from your index (if they exist). It's important to note that, unlike mutation queries, this read request works regardless if someone is authenticated or not.
Decrypting Messages
If you've followed along in the tutorial up until this point without switching to a different wallet address (meaning you're still logged into the one you used to generate a few messages), you'll see a "Decrypt" button within each message box rendered in the UI. This button renders conditionally based on whether you're the message author (see src/fragments/chatcontent.tsx for the conditional message.isChatOwner). However, even if we rendered this button for all users regardless of author, we can still rely on LIT to grant decryption access solely to users who meet the correct access control conditions.
In /src/fragments/chatcontent.tsx you can observe how this works. When you click the "Decrypt" button, this action invokes the handleDecrypt method with both an event pointer and the message contents relevant to that component instance. Similar to the sequence of events incurred when encrypting data with LIT, observe how the decryptWithLit method is invoked (after converting the message contents to their necessary formats).
The definition for this method lives in /utils/lit.ts, which checks for an existing cryptographic authentication signature in the browser's local storage. If the user is authorized, a decryptToString method is later invoked using the litNodeClient instance on the window object, along with the access control conditions, ciphertext, encrypted and hashed data, and chain. This will finally decrypt the message contents and allow us to render it in our UI.
If you press the "Decrypt" button, that corresponding message should now allow you to read its contents in plaintext:

Signing in as Different Users
If you want to simulate what the experience might look like with multiple users interacting with the application, make sure that you clear your local storage (in addition to disconnecting your current MetaMask account) each time you want to sign in with a different address.
Next Steps
While this tutorial represents a very simple example of how to store and retrieve encrypted data on ComposeDB, there are other patterns and examples developers will find useful to learn more about building on Ceramic.
- To migrate from local development to running ComposeDB in the cloud, visit Running in the Cloud.
- To move from Ceramic Testnet to Mainnet, visit Access Ceramic Mainnet.
- To view a social application example with more complex data modeling and querying based on relations, visit this Social App ComposeDB Starter.
- To view how to generate, save, query, and verify off-chain attestations using the Ethereum Attestation Service together with ComposeDB, visit this repository.
- Use the ComposeDB API Sandbox to test example queries on a real dataset directly from your browser
- Build an AI-powered Chatbot and save message history to ComposeDB by following this ComposeDB Tutorial
Support from the Ceramic Team
Developers are encouraged to join the Ceramic community, engage with members of the Ceramic team, and ask for help along their development journey! Here are a few ways to get in touch:
- Join the Forum to ask questions and receive support
- Join the Discord to chat directly with both community members and the Ceramic team
- Follow the Ceramic Network on Twitter for updates
- Browse technical tutorials and feature release announcements on the Ceramic blog
- Check out the YouTube Channel for presentations and videos
Not finding the answer you're looking for? Share your feedback on these docs by creating an issue in our GitHub Issues and Reports repository or get support by visiting our Support page.